Contents
 Welcome
    Features
 Installation
    System Requirements
    Obtaining Installation Program
    Running Installation
    Activation
    Obtaining Updates
    Displaying Current Version
 Administrator Functions
    Applying Preconfigured Templates
    Managing Tables
       Create a New Table
       Editing an Existing Table
       Deleting an Existing Table
       Creating Fields
          Special Fields
       Editing Fields
       Deleting Fields
       Assigning Field Security
       Tabs and Views (Quick View)
       Defining Relationships
          Add Relationship
          Edit Relationship
          Delete Relationship
          Relationship with Activites and Opps
    Nesting Tables
    Managing Custom Table Screens
       Adding a New Screen
       Changing Screen Properties
       Deleting a Screen
       Adding a Second Screen
       Setting your Default Screen
       Designing Screen
          New Features of the Design Screen
          Adding Sections 
          Adding Coulmns to Sections
          Adding Fields
          Moving Fields
          Adding Static Images
          Deleting Fields
          Modifying Field Attributes
          Changing Screen Color
       Editing Screen Scripts
          Scripting Events
          Using Snippets
    InLine Grid for ACT Layouts
    Migrating Data
    Importing Data
    Managing Word Templates
       Creating a New Template
       Editing an Existing Template
       Nested Custom Table Entities in a Template
    Managing Schema
       Exporting Schema Changes
       Importing Schema Changes
    Creating Default Settings
 End User Functions
    Using Designer Tabs
       Adding / Deleting Entities
       Managing Display Columns
       Sorting / Grouping
       Filtering
       Replace Values
       Exporting to Excel
       Printing
       Summaries / Statistics
       Merge to Word
       Gridlines
    Using List View
    Using Lookups
    Using Default Settings
 Windows vs Web Functionality
 Integration with Keystroke Dash
 FAQ
    Purchase and Licensing  FAQ
    Installation FAQ
    Admin Function FAQ
 Videos


Display Keyword IndexAdd to your browser favoritesPrint PageGet the URL to link to this page
Search: Search for pages containing this text

Home > End User Functions > Using List View

Using the List View

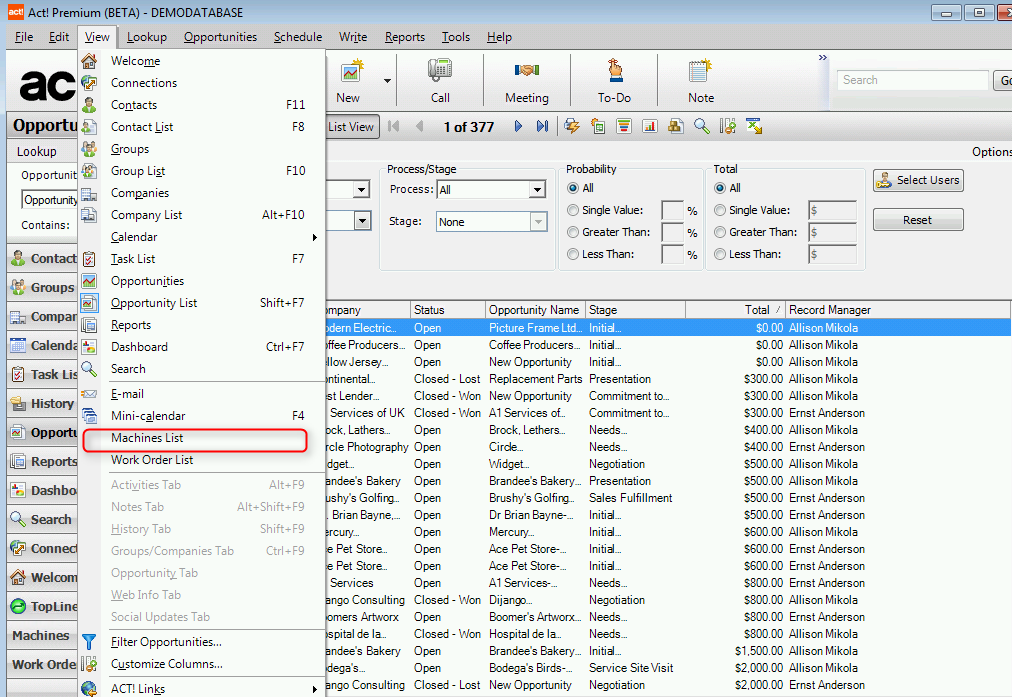
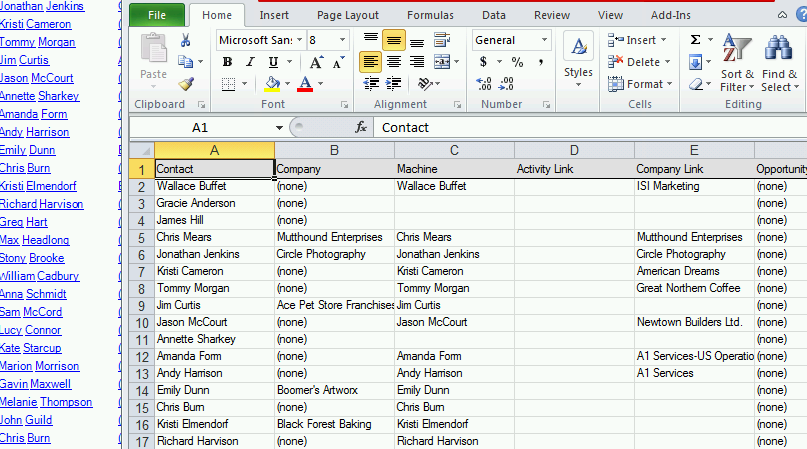
The List View in Keystroke Designer allows you to see all the fields that are available in the sub-entity or Tab. In this example below, we selected the Contract List View from the drop down menu View.

Note that using list view is no different then using Designer Tabs, only now do you see all records for that sub-entity in the database. All the controls for Adding/Deleting Entries are the same, Displaying Columns, Grouping and Filtering as well as Exporting to Excel and using Merge to Word.


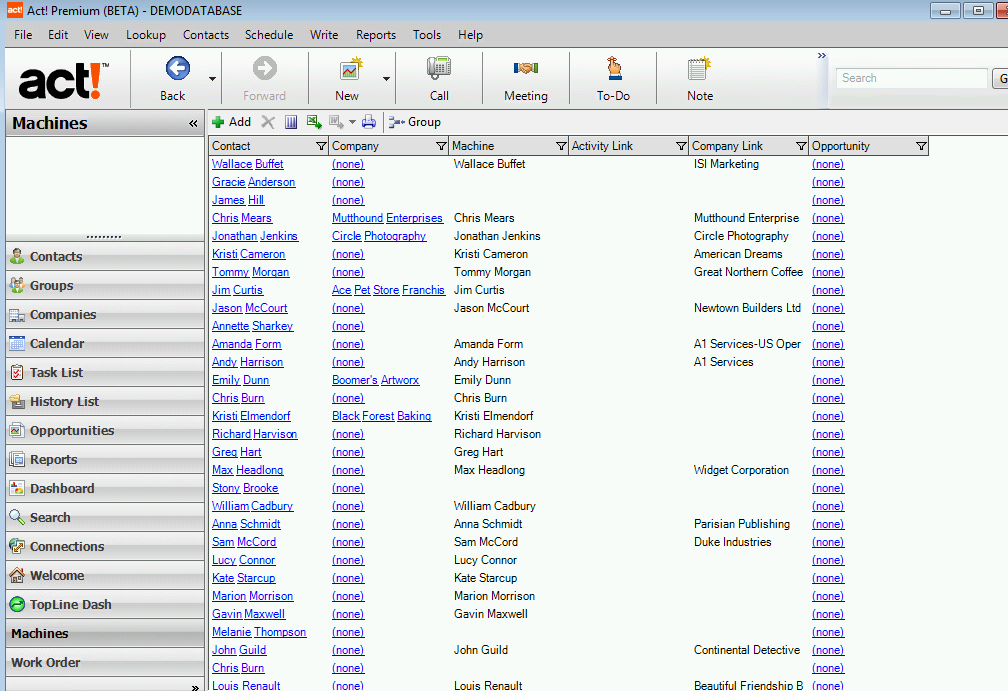
Selecting Contract Lists will show the list below:


  This section is identical to Using Designer Tabs please refer to that section     

a.     Adding
                    Click Add to create a new items to the list. You will be prompted to a new blank form. It is preferable to do so from the contact, company or group so as to automatically pre-populate the corresponding fields.      

 b.    Deleting
                    Select any row and click on the delete icon (Red X)
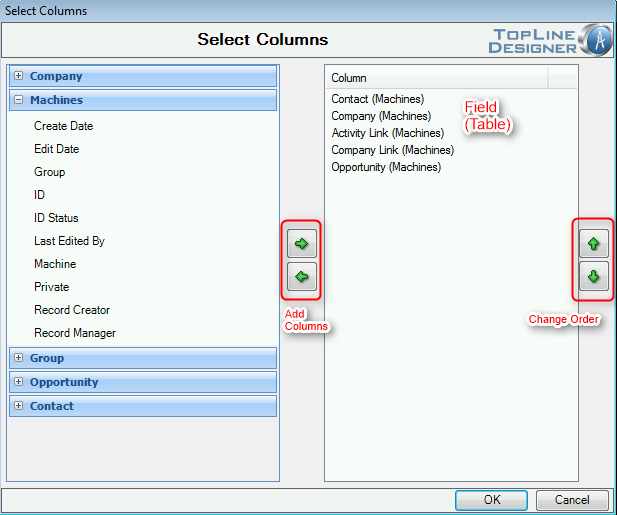
       

c.    Choosing Columns
                    In order to view more fields in the list view, select the field from the left column and bring to the right. (See Below)


 d.    Exporting to Excel

Exporting to Excel sends all the visible rows and columns to excel.  If you have applied a group based on a field, MS-Excel will show those results as well.The same is true if you applied a filter; only the filtered data will show in the list view.


e.    Merge to Word - Please refer to the MS-Word Mail Merge section for more details.

1. Merge an existing template to Word

2. Create a new template

3. Edit an existing template

4. Mail Merge multiple rows to an embedded grid

5. Select multiple record rows and mail merge to separate documents the content of each record


f.    Printing
Select the print icon and print a list directly to your printer.

 
g.   Grouping
Click on group and Drag a field to the space created between the the icons and the list - Refer to the Grouping and Filtering section under Using Designer Tabs.


See also

  
HelpConsole 2008 - Enterprise Edition

Copyright © 2004 - 2008 Extreme Ease Software Inc. All Rights Reserved.