Home > Administrator Functions > Managing Tables > Create a New Table
Create a New Table Creating a new sub-entity is easy. NOTE: Do not use Act! reserved words in the table name, such as Note, History, Activity or Opportunity.
- Open Act!
- Click on the Tools menu and select Define Custom Tables...

- Click the Add Table link
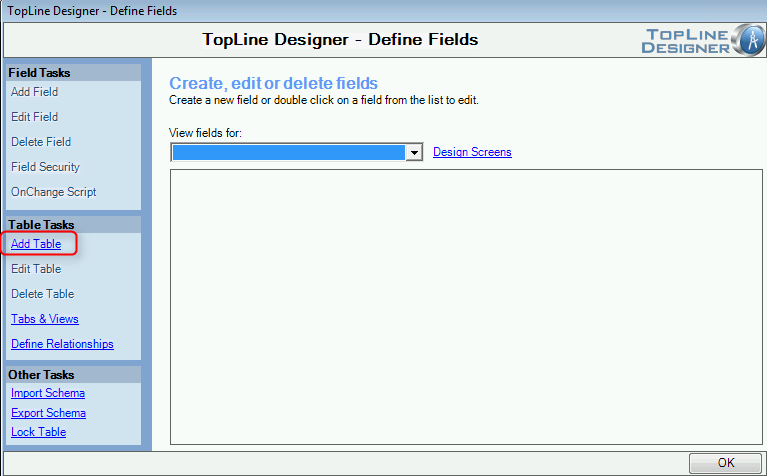
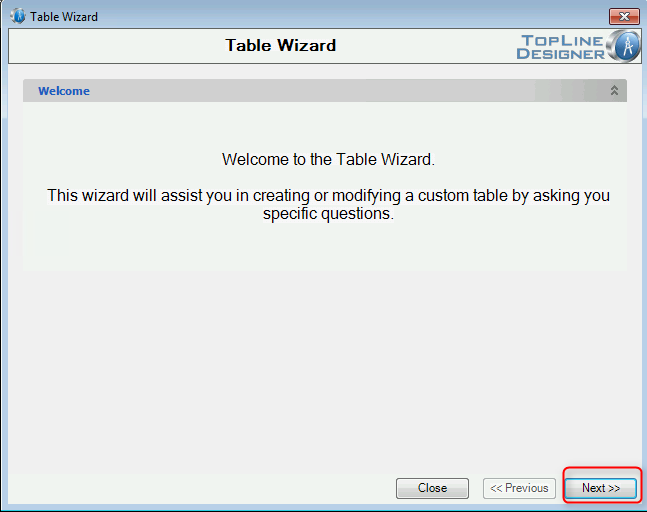
- A wizard will display to guide you through the process of creating a new table. Click Next to begin.
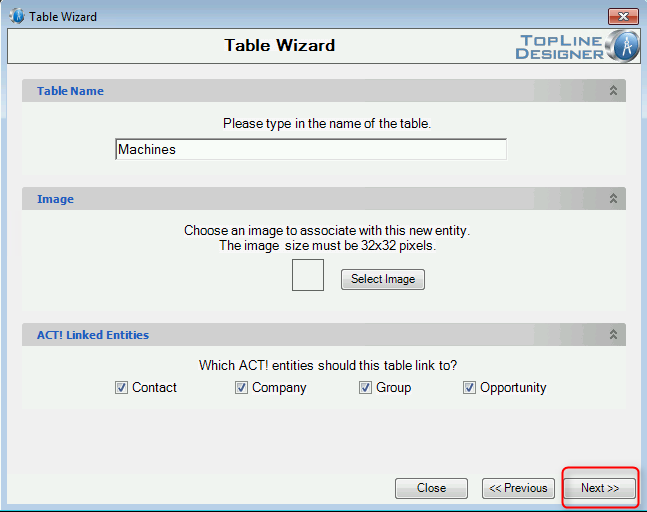
- Type the name of the table into the field under Table Name. The table name is usually plural since multiple records will be stored within this table.
- Use a 32x32 image for the Navigation bar
- Select the Act! primary entities you wish to link this table too. All custom sub-entities must be linked to one or more primary entities in Act!. Custom sub-entities cannot be linked after they are created, so select all the possible linked entities now.
- Click Next.
- Table Properties
- Layout Tabs
Placing a checkmark in these boxes will add a new tab to the Contact, Company, Group or Opportunity layout for this table.
- Lookup Menu
Selecting Yes will add a new menu item to the Lookup menu which allows you to perform a lookup on records in this table. The result will be a lookup of Contacts, Companies, Groups or Opportunities.
- View Menu
Selecting Yes will add a new menu item to the View menu. This allows you to view/filter and sort a list of all of the records in this table. 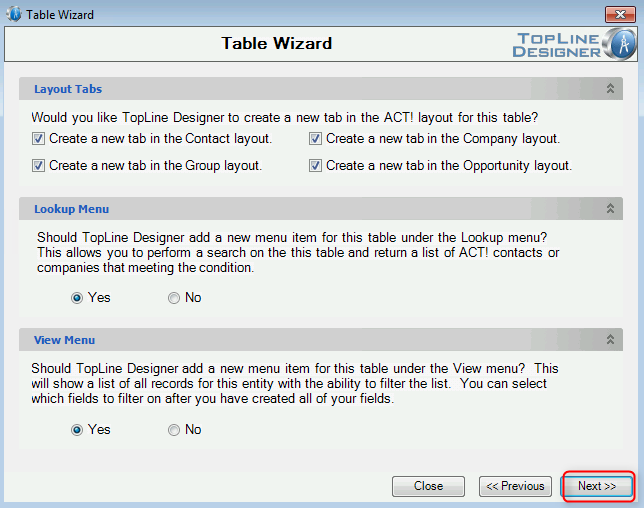
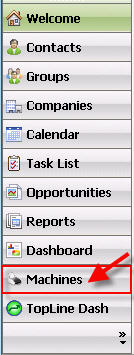
- If the View Menu is selected, it will also be visible in the Navigation Bar with the selected icon.
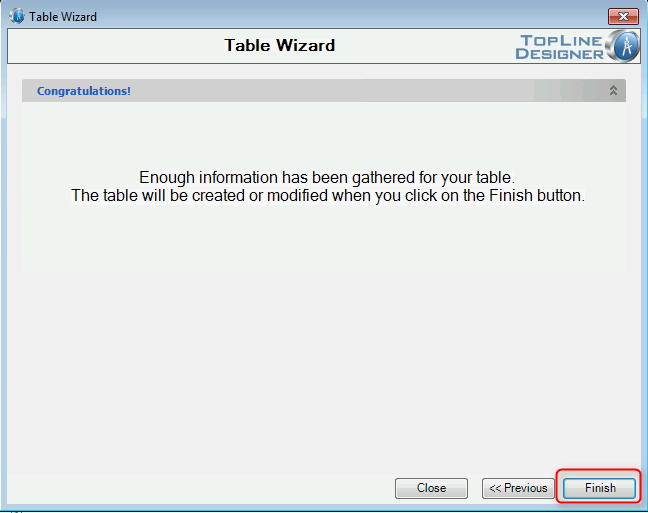
- Click the Finish button to create your table.
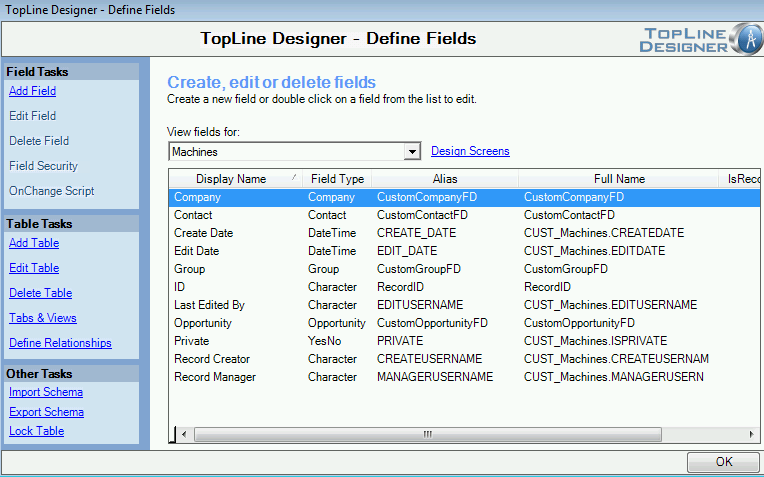
- You will now see the fields for the new table on the screen.
See also
|