Contents
 Welcome
    Features
 Installation
    System Requirements
    Obtaining Installation Program
    Running Installation
    Activation
    Obtaining Updates
    Displaying Current Version
 Administrator Functions
    Applying Preconfigured Templates
    Managing Tables
       Create a New Table
       Editing an Existing Table
       Deleting an Existing Table
       Creating Fields
          Special Fields
       Editing Fields
       Deleting Fields
       Assigning Field Security
       Tabs and Views (Quick View)
       Defining Relationships
          Add Relationship
          Edit Relationship
          Delete Relationship
          Relationship with Activites and Opps
    Nesting Tables
    Managing Custom Table Screens
       Adding a New Screen
       Changing Screen Properties
       Deleting a Screen
       Adding a Second Screen
       Setting your Default Screen
       Designing Screen
          New Features of the Design Screen
          Adding Sections 
          Adding Coulmns to Sections
          Adding Fields
          Moving Fields
          Adding Static Images
          Deleting Fields
          Modifying Field Attributes
          Changing Screen Color
       Editing Screen Scripts
          Scripting Events
          Using Snippets
    InLine Grid for ACT Layouts
    Migrating Data
    Importing Data
    Managing Word Templates
       Creating a New Template
       Editing an Existing Template
       Nested Custom Table Entities in a Template
    Managing Schema
       Exporting Schema Changes
       Importing Schema Changes
    Creating Default Settings
 End User Functions
    Using Designer Tabs
       Adding / Deleting Entities
       Managing Display Columns
       Sorting / Grouping
       Filtering
       Replace Values
       Exporting to Excel
       Printing
       Summaries / Statistics
       Merge to Word
       Gridlines
    Using List View
    Using Lookups
    Using Default Settings
 Windows vs Web Functionality
 Integration with Keystroke Dash
 FAQ
    Purchase and Licensing  FAQ
    Installation FAQ
    Admin Function FAQ
 Videos


Display Keyword IndexAdd to your browser favoritesPrint PageGet the URL to link to this page
Search: Search for pages containing this text

Home > Administrator Functions > Managing Tables > Creating Fields

Creating Fields

Numerous fields can be created in a custom table.

  1. Open Act!
  2. Click on the Tools menu and select Define Custom Tables...
     
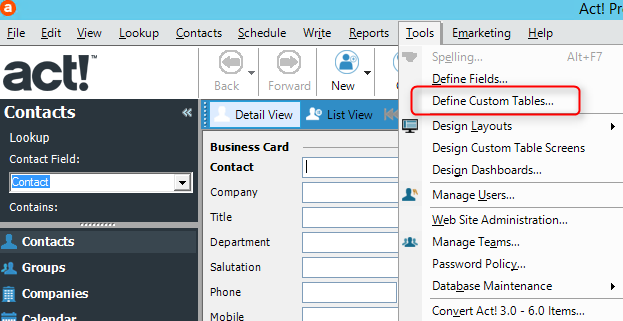
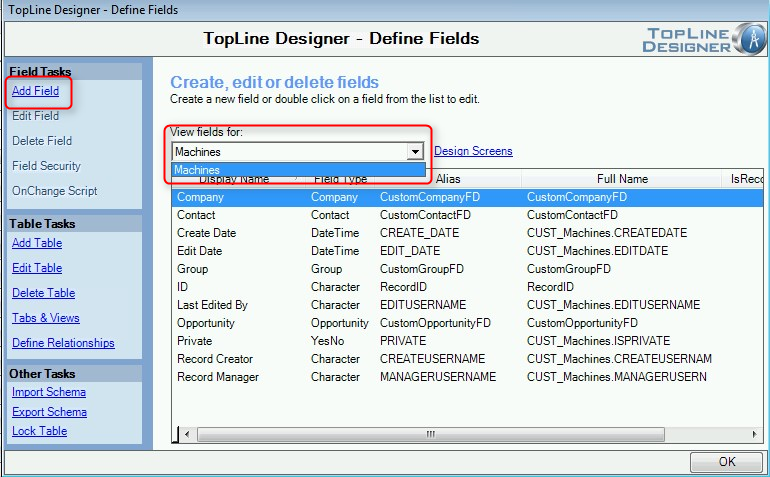
  3. Select the appropriate custom table from the dropdown and click on the Add Field link.
     
  4. Enter a name for the new field.

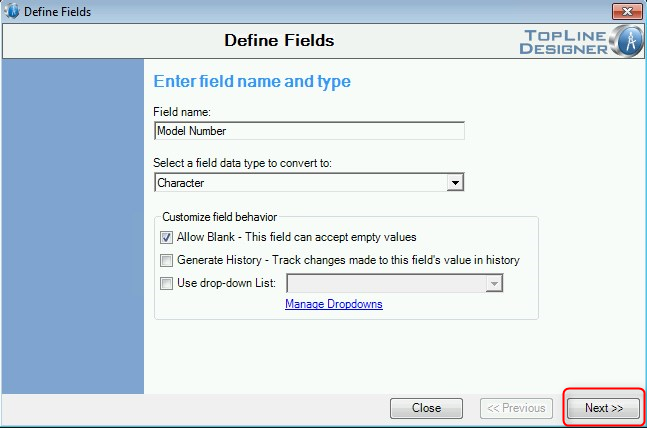
                        a. Select the field data type from the choices of:

                        b.  Allow Blank checkbox indicates whether the field is required.
                        c.  Generate History checkbox will add a history record whenever the field's value is change.
                        d.  A dropdown list can be assigned to the field (depending on the type).  Designer allows you to access the dropdown management screen from this area.

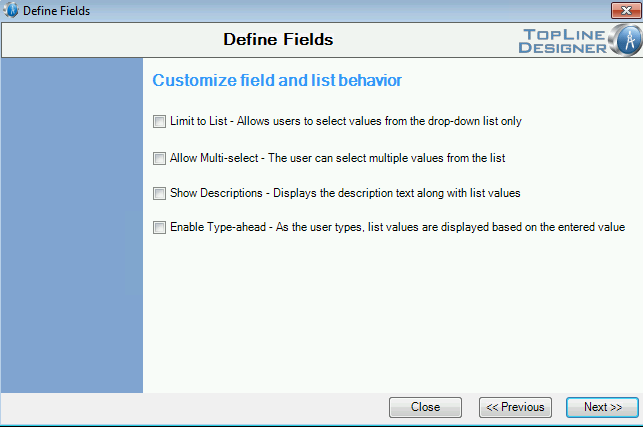
    5. An additional screen may appear when using dropdowns to Limit to List, Allow Multi-Select, Show Descriptions and Enable Type Ahead, just like typical Act! fields.

        6.  An additional screen may appear depending on field type for Default Value and Field Length.

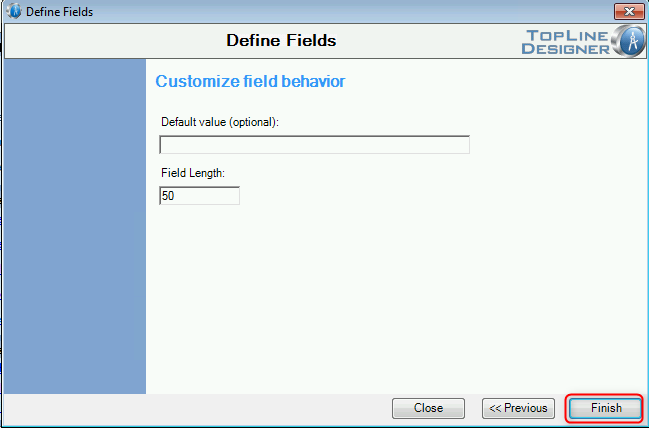
        7.  Click Finish to create the new field and return the Define Fields screen.

See also

  
HelpConsole 2008 - Enterprise Edition

Copyright © 2004 - 2008 Extreme Ease Software Inc. All Rights Reserved.